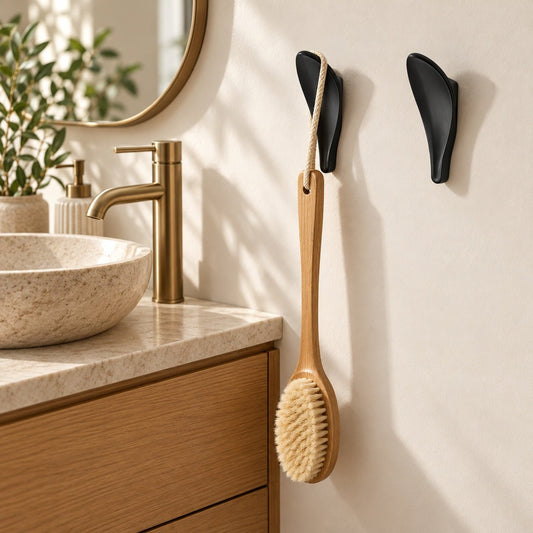
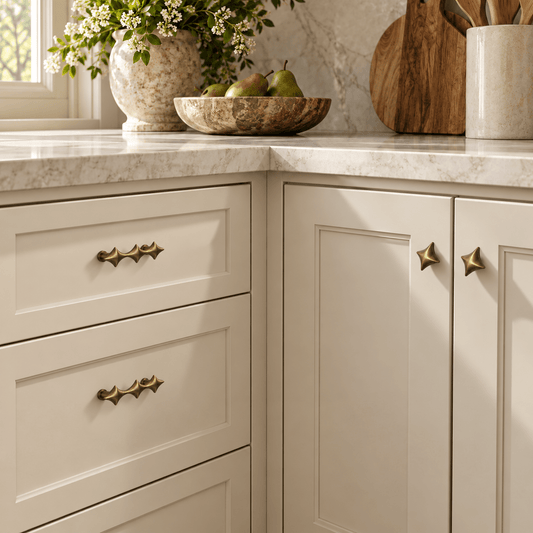
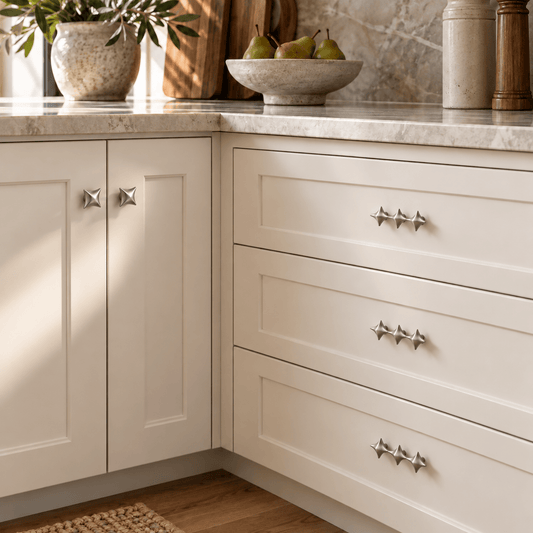
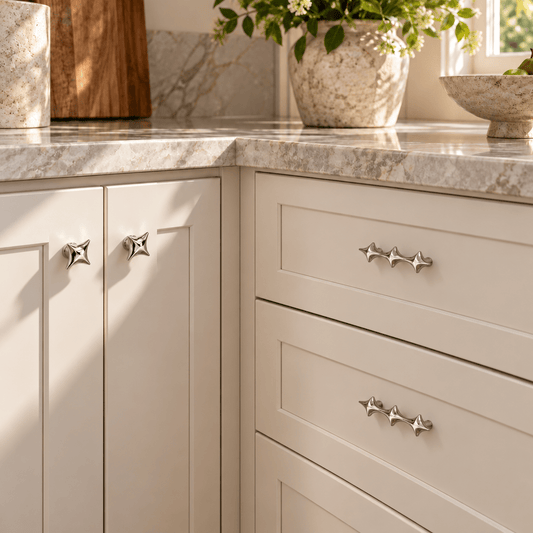
Cabinet hardware is a small detail that can change the character of a room. A warm metallic finish can soften painted cabinets, a simple handle can bring order to a busy kitchen, and a sculptural leaf shape can make an everyday vanity feel more personal.
The best choice brings together style, comfortable use, and the right fit. Whether you are refreshing kitchen cupboards, updating bathroom storage, or giving a dresser a new look, start with the mounting details before choosing the finish.
Knobs or pulls: which should you choose?
Knobs usually attach through one mounting hole and offer a compact grip. Pulls generally use two mounting holes and give your fingers a longer surface to hold. Decorative shapes can blur these categories, so check the mounting specifications rather than relying on the product name alone.
| Hardware type | Styling approach | What to check |
|---|---|---|
| Knobs | A compact accent for doors or smaller drawers | Number of mounting holes, grip, base size, and projection |
| Pulls | A longer line that can suit drawers or cabinet doors | Hole spacing, overall dimensions, and finger clearance |
| Decorative hardware | A focal detail for a vanity, dresser, or cabinet | Mounting pattern, orientation, and how the shape feels in your hand |
Using knobs on doors and pulls on drawers is one option. You can also repeat a single design throughout a room for a quieter look. Choose a layout around the pieces you actually open each day: a beautiful shape should still feel comfortable when your hands are wet, full, or moving quickly.
Measure first, especially when replacing existing hardware
Remove one existing handle and measure the distance from the center of one mounting hole to the center of the other. This is called center-to-center spacing, sometimes listed as hole spacing or hole centers. Match that measurement when you want to reuse the existing holes.
Match mounting-hole spacing, not overall handle length. Two pulls can look similar in size and use different mounting distances.
For single-hole hardware, check whether the new base covers the old hole and any visible marks around it. A smaller base may expose an outline left by the previous piece.
Four measurements worth checking
- Hole spacing: the distance between mounting-hole centers on a two-hole design.
- Overall length and width: the full footprint of the hardware on the cabinet front.
- Projection: how far the piece extends from the cabinet surface. Check usable finger clearance separately when specified.
- Door or drawer-front thickness: the material the mounting screw must pass through, including a drawer box where applicable.
Record your measurements in the units used by the product listing. Similar-looking inch and metric sizes are not always interchangeable, so keep the original measurement precise.
Choose a scale that suits the cabinet front
A small accent can look delicate on a narrow cupboard but feel lost on a broad drawer. A long pull can create a strong horizontal line, while a compact decorative shape adds a more focused detail.
Before committing, cut a paper outline to the hardware's stated dimensions and hold it against the cabinet. Look at it from across the room as well as up close. This is particularly useful for leaf shapes, curved designs, and other pieces whose proportions are difficult to judge from photographs.
For new holes, you have more freedom to choose the scale and position. For existing holes, start with compatible spacing and compare the overall dimensions of the options that fit.
There is no single handle length that suits every drawer. Let the cabinet proportions, your preferred look, and ease of use guide the decision.
Find a finish that works with your room
Hardware can echo another detail or introduce a deliberate contrast. Think about the cabinet color, countertop, lighting, and nearby fixtures together.
| Cabinet or room palette | A styling direction to try |
|---|---|
| Cream or warm white | Warm brass tones for a softer, welcoming look |
| Olive, sage, or forest green | Gold or brass tones to bring warmth to the green |
| Natural oak or warm wood | Warm metal for continuity, or a dark finish for definition |
| Cool white or gray | Silver-toned finishes for a clean, restrained palette |
| Deep navy or charcoal | A lighter metallic accent to make the hardware stand out |
These are starting points for styling. The finish you enjoy in your own room matters more than following a formula.
If you mix metals, make the choice feel intentional by repeating each tone elsewhere. For example, warm cabinet hardware can relate to a brass-toned light while a silver-toned faucet remains part of the sink area. Compare finishes in your room's daylight and evening lighting before choosing a large quantity.
Separate material from finish
Material describes what the piece is made from; finish describes its surface appearance. A brass-colored handle is not necessarily solid brass, and a gold tone does not identify the underlying metal.
Read the material and finish details together. If a particular material matters to your project, look for a clear specification rather than judging from color or photographs.
For bathrooms and busy kitchens, include care requirements in your decision. Follow the instructions for the specific hardware; different surface treatments can need different cleaning methods. Do not assume that every warm metallic finish should be polished or that every brass piece will age in the same way.
Make decorative shapes part of the design
Botanical hardware can bring a natural detail into a room without adding anything to the countertop. A leaf-shaped pull can work especially well with green cabinetry, warm wood, woven textures, and simple ceramics.
Give a distinctive shape enough visual space. On a vanity or dresser, repeating the same design can make the piece feel cohesive. In a kitchen with patterned tile or expressive cabinet fronts, a restrained hardware layout can help the room feel settled.
Consider orientation before installation. Hold the piece in its intended position and check both the appearance and the grip. For paired doors, decide whether you prefer matching directions or a mirrored arrangement, where the hardware design allows it.
Plan placement and installation
For an existing cabinet, reusing the mounting holes makes placement straightforward when the new hardware fits. For a new installation, mark the positions and review the whole layout before drilling.
Vertical pulls on doors and horizontal pulls on drawers are familiar arrangements. Centered hardware can give drawer fronts a balanced look, while door hardware usually sits toward the opening edge. Treat these as layout options, then check comfortable reach and clearance.
Use the hardware's installation instructions to confirm the mounting pattern, screw requirements, and drill-bit size. A template or jig can help repeat positions accurately. Check screw length against the thickness of the front, and tighten carefully by hand.
Open adjacent doors and drawers to make sure the new hardware clears nearby surfaces and other handles.
Count pieces and compare the full project cost
Count the individual doors and drawers you plan to update, then decide how many pieces each needs. Separate the count by hardware type if you are mixing knobs and pulls.
Check the package quantity carefully. A two-piece set contains two individual hardware pieces; it does not automatically supply two handles for every drawer in your project.
If you are making a larger change, trying one piece or a small set first can help you assess the finish, proportions, and grip in your room. Compare the total cost of the required quantity, including any separate mounting supplies, rather than only the price of one piece.
Planning a project? Ask about a custom quote. If you love a knob or pull but the total for your project stretches your budget, contact us before ruling it out. Quantity pricing is available for larger orders, and Urban Alcove can prepare a custom quote for the exact number of pieces you need.
Email support@urbanalcove.com with the product links, finish, size, quantities, delivery location and target arrival date. If you can allow four weeks to two months, mention that flexibility: more economical shipping options may help reduce the quote, depending on the product and order.
Plan the whole refresh: Read From a Dresser Refresh to a Kitchen Update: How to Shop for Your Home Project for dresser, bathroom and kitchen shopping checklists, budgeting advice and what to include when requesting a project quote.
A botanical example: Virelle
Virelle – Leaf-Shaped Brass Cabinet Pull brings a sculptural leaf detail and warm brass tone to compatible cabinet doors, vanities, and dresser drawers. Its shape can echo green cabinetry, natural wood, or other botanical details in the room.
Each pull measures approximately 8.8 × 3 × 2.7 cm (3.46 × 1.18 × 1.06 inches), with two mounting holes spaced 32 mm center to center. That short mounting distance is separate from its 88 mm overall length—an example of why appearance alone cannot tell you whether a pull will fit existing holes.
Choose a Single Pull for one piece or a Set of 2 for two pieces. For a larger project, calculate the number of individual pulls needed before choosing package quantities.
Cabinet hardware buying checklist
Before ordering, confirm:
- The number of mounting holes and the exact spacing, where applicable.
- Overall dimensions, projection, and usable grip.
- Compatibility with the door or drawer-front thickness.
- Material, finish, and care instructions.
- Mounting screws or other supplies included with the selected option.
- Package quantity and the total number of pieces your project needs.
Bring the room together, one detail at a time
Start with the right fit, then choose a shape and finish that make the space feel like yours. A thoughtful hardware update can give familiar cabinets, a bathroom vanity, or a favorite dresser a fresh point of view.
Start with the Virelle leaf-shaped cabinet pull, and check its measurements against your project. For surrounding room details, explore our Kitchen and Bathroom collections.
Further reading: Hickory Hardware’s installation guidance. Follow the mounting instructions for your selected hardware.